Thinking about replacing your exhaust flex pipe? Wondering if you can tackle the job yourself? Look no further, because we are here to guide you through it! In this article, we will discuss the feasibility of replacing your exhaust flex pipe on your own. Whether you’re a seasoned DIY enthusiast or a beginner looking to take on a new challenge, we’ve got you covered. So, put on your DIY hat and let’s find out if you can replace your exhaust flex pipe yourself!
Understanding the Role of Exhaust Flex Pipe
What is an exhaust flex pipe?
An exhaust flex pipe, also known as a flex joint or flex coupler, is a crucial component in the exhaust system of a vehicle. It is a flexible section of pipe that is designed to absorb vibrations, reduce stress on the exhaust system, and allow for movement between different parts of the exhaust system. The flex pipe is usually made of stainless steel or a similar material that can withstand high temperatures and corrosive conditions.
The function of the exhaust flex pipe
The primary function of the exhaust flex pipe is to provide flexibility and durability to the exhaust system. As the engine produces vibrations during operation, these vibrations can create stress and strain on the exhaust system. The flex pipe acts as a buffer, absorbing these vibrations and reducing the likelihood of damage to the exhaust components.
Furthermore, the flex pipe allows for movement and flexibility in the exhaust system. This is particularly important in modern vehicles where the engine and exhaust components are mounted on rubber or flexible mounts. The flex pipe allows for movement and expansion of the exhaust system as it heats up during operation and cools down when the engine is turned off.
Signs That Your Exhaust Flex Pipe Needs Replacement
Loud noises from the exhaust system
One of the most common signs that your exhaust flex pipe needs to be replaced is the presence of loud noises coming from the exhaust system. If you hear a rattling, hissing, or metallic sound when the engine is running, it could indicate a damaged or worn-out flex pipe. The vibrations caused by a failing flex pipe can lead to the loosening and rattling of other exhaust components, resulting in an audible noise.
Decreased power and performance
A failing exhaust flex pipe can also affect the power and performance of your vehicle. If you notice a decrease in acceleration, engine power, or overall performance, it could be due to a restricted exhaust flow caused by a damaged flex pipe. The flex pipe plays a crucial role in maintaining the proper flow of exhaust gases from the engine, so any obstruction or leakage can negatively impact performance.
Visual inspection of the exhaust pipe
Performing a visual inspection of your exhaust pipe can help identify any visible signs of damage or wear. Look for rust or corrosion, cracks or holes, and any indication of leaks or loose connections around the flex pipe. Additionally, pay attention to any misalignment or deformation of the flex pipe, as it could be an indication of internal damage that may not be immediately visible.

Tools Required to Replace Exhaust Flex Pipe
Required equipment: a list
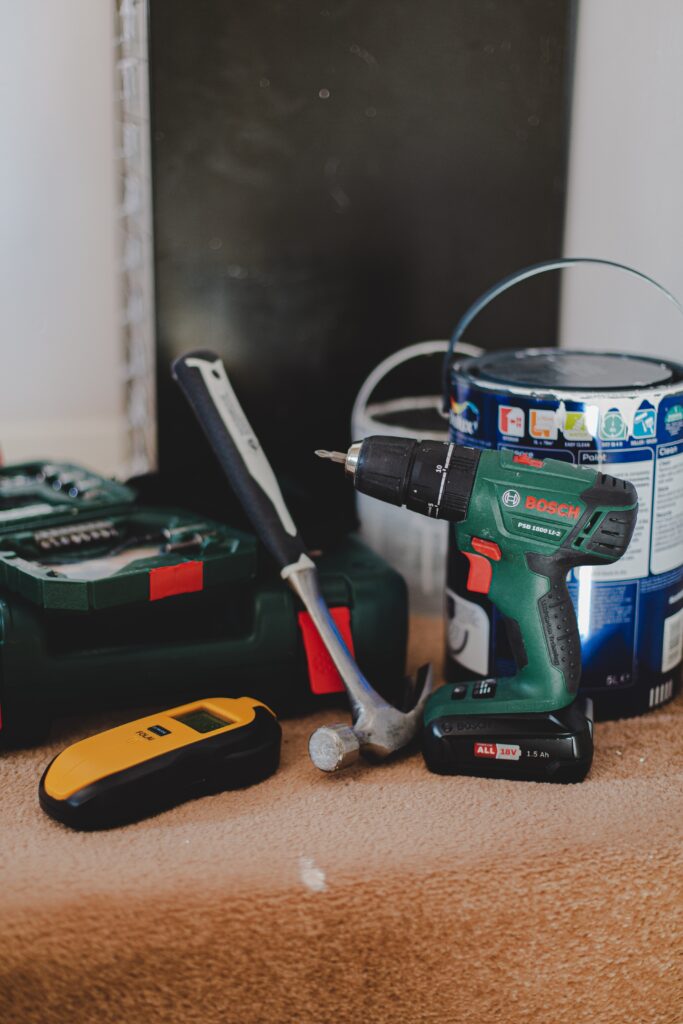
To replace the exhaust flex pipe, you will need the following tools:
- Jack or lift – to raise the vehicle off the ground safely.
- Socket set – for removing bolts and nuts.
- Wrenches – for loosening and tightening connections.
- Cutting tool – if the old flex pipe needs to be cut off.
- Exhaust hanger pliers – for removing and installing exhaust hangers.
- Safety goggles and gloves – to protect yourself during the replacement process.
Where to purchase required tools
You can purchase the required tools from various sources. Local automotive supply stores often carry a wide range of tools specifically designed for vehicle repairs and maintenance. Additionally, online retailers such as Amazon and eBay offer a vast selection of tools at competitive prices. It is recommended to invest in quality tools that are durable and suitable for automotive work to ensure a smooth replacement process.
Safety equipment needed
When performing any type of automotive repair or maintenance, it is essential to prioritize safety. Apart from the tools mentioned above, you should also have the following safety equipment:
- Safety goggles – to protect your eyes from debris and sparks.
- Work gloves – to protect your hands from cuts and burns.
- Knee pads or a mat – to provide comfort and protect your knees while working under the vehicle.
- Fire extinguisher – as a precautionary measure in case of any unexpected fires or accidents.
Cost Implications of Self-Replacement VS. Professional Replacement
Cost of replacement parts
The cost of replacing an exhaust flex pipe can vary depending on the make and model of your vehicle, as well as the quality of the replacement part. On average, a flex pipe can range in price from $50 to $200. It is important to research and compare prices from different suppliers to ensure you are getting a fair deal.
Cost of tools
If you decide to replace the exhaust flex pipe yourself, you will need to consider the cost of acquiring the necessary tools. The cost of tools can range from $50 to $200 or more, depending on the quality and brand. However, investing in tools can be beneficial in the long run as they can be used for other repairs and maintenance tasks.
Comparison of DIY replacement vs professional service
Choosing between a DIY replacement and professional service often comes down to personal preference, skill level, and budget. If you are confident in your abilities and have prior experience working on vehicles, replacing the flex pipe yourself can save you money. However, if you are unsure or lack the necessary tools, skills, or time, it may be more convenient and safer to seek professional assistance. Professional replacement services typically include the cost of labor and parts and can range from $200 to $500 or more, depending on the complexity of the job.

Steps in Removing the Damaged Exhaust Flex Pipe
Preparing your vehicle for replacement
Before you begin replacing the exhaust flex pipe, it is important to ensure the vehicle is parked on a level surface and the engine is turned off. Put on the necessary safety gear, such as goggles and gloves, to protect yourself during the process. If possible, allow the exhaust system to cool down to avoid burns.
Positioning and using the jack
To access the exhaust system, you will need to raise the vehicle off the ground using a jack or lift. Refer to your vehicle’s owner’s manual for the proper location and procedure for lifting it safely. Place jack stands under the vehicle to provide additional support and prevent it from falling while you work.
Removing the existing exhaust flex pipe
Now that the vehicle is safely elevated, locate the damaged exhaust flex pipe. Depending on the design of your exhaust system, you may need to remove other components, such as heat shields or hangers, to gain access to the flex pipe. Use a socket set and wrenches to loosen and remove any bolts or clamps securing the flex pipe to the related components. If the old flex pipe cannot be easily removed, you may need to use a cutting tool to create enough space for removal.
Instructions for Installing a New Exhaust Flex Pipe
Choosing the right exhaust flex pipe for your vehicle
When selecting a new exhaust flex pipe, it is crucial to ensure it is compatible with your vehicle’s make, model, and year. Research and consult with reputable suppliers or automotive experts to determine the correct specifications and dimensions for your particular vehicle. It is recommended to invest in a high-quality flex pipe that is durable and resistant to corrosion for long-lasting performance.
Mounting the new flex pipe
With the old flex pipe removed, carefully position the new flex pipe in place. Align it with the other exhaust components and verify that the connections match up. Use new gaskets and clamps, if necessary, to ensure a secure fit and prevent leaks. Tighten the bolts and clamps using a socket set and wrenches, ensuring that all connections are properly sealed.
Ensuring the flex pipe is securely installed
Once the new flex pipe is mounted, it is important to double-check all connections and fittings for tightness and alignment. Start the engine and listen for any unusual noises or signs of leaks. If everything appears to be in order, lower the vehicle from the jack stands and safely lower it to the ground. Take the vehicle for a test drive to ensure the new flex pipe is functioning properly and to confirm that there are no further issues with the exhaust system.

Possible Challenges in Exhaust Flex Pipe Replacement
Difficulty in removing old pipe
While removing the old exhaust flex pipe, you may encounter challenges such as corroded or rusted bolts, tight spaces, or stubborn connections. The use of penetrating oil on the rusty bolts and patient maneuvering can help loosen them. If necessary, cutting tools or specialized exhaust removal tools may be required to remove the old pipe.
Issues with fitting new pipe
Sometimes, the new flex pipe may not perfectly match the existing exhaust system or require minor adjustments for proper fitment. In such cases, it may be necessary to use additional adapters, connectors, or clamps to ensure a secure connection. Improvisation and careful attention to detail can help overcome these challenges.
Managing the weight of the exhaust system
Exhaust systems can be heavy and cumbersome, making it challenging to maneuver or hold in place during the replacement process. This is particularly true if you are working alone. Using additional supports, such as a jack, jack stands, or having a helper to assist with holding the exhaust system, can alleviate some of the difficulties associated with managing the weight.
Maintenance Tips for New Exhaust Flex Pipe
Routine checks for any damage
After installing a new exhaust flex pipe, it is important to perform regular visual inspections to check for any signs of damage, corrosion, or leaks. Look for rust, cracks, or loose connections, and address any issues promptly. Additionally, listen for any unusual noises coming from the exhaust system, as they may indicate a problem with the flex pipe or other components.
Proper driving techniques to limit wear and tear
To prolong the lifespan of your exhaust flex pipe, driving responsibly and avoiding excessive acceleration, harsh braking, or aggressive driving is advisable. These actions can place unnecessary stress on the exhaust system, potentially causing damage to the flex pipe over time. Additionally, avoiding road hazards and driving over speed bumps or potholes cautiously can help minimize the risk of impact damage.
When to seek professional help for maintenance
While routine inspections and basic maintenance can be performed by most vehicle owners, there may be instances where professional assistance is required. If you notice significant damage, excessive rust, or complex issues with your exhaust flex pipe, it is recommended to consult a professional mechanic or exhaust specialist. They have the expertise and experience to diagnose and address any problems effectively, ensuring the proper functioning and longevity of your exhaust system.
